Adobe Photoshop 7.0 is a versatile and powerful tool used by graphic designers, photographers, and digital artists to manipulate and enhance images.

Despite being an older version, it remains popular due to its robust features and user-friendly interface. In this comprehensive guide, we will explore the various features and techniques that will allow you to become proficient in using Adobe Photoshop 7.0.
Getting Started with Adobe Photoshop 7.0
Installation Process: Installing Adobe Photoshop 7.0 is straightforward. Simply follow the on-screen instructions provided in the installation wizard. Make sure your system meets the minimum requirements for a smooth experience.
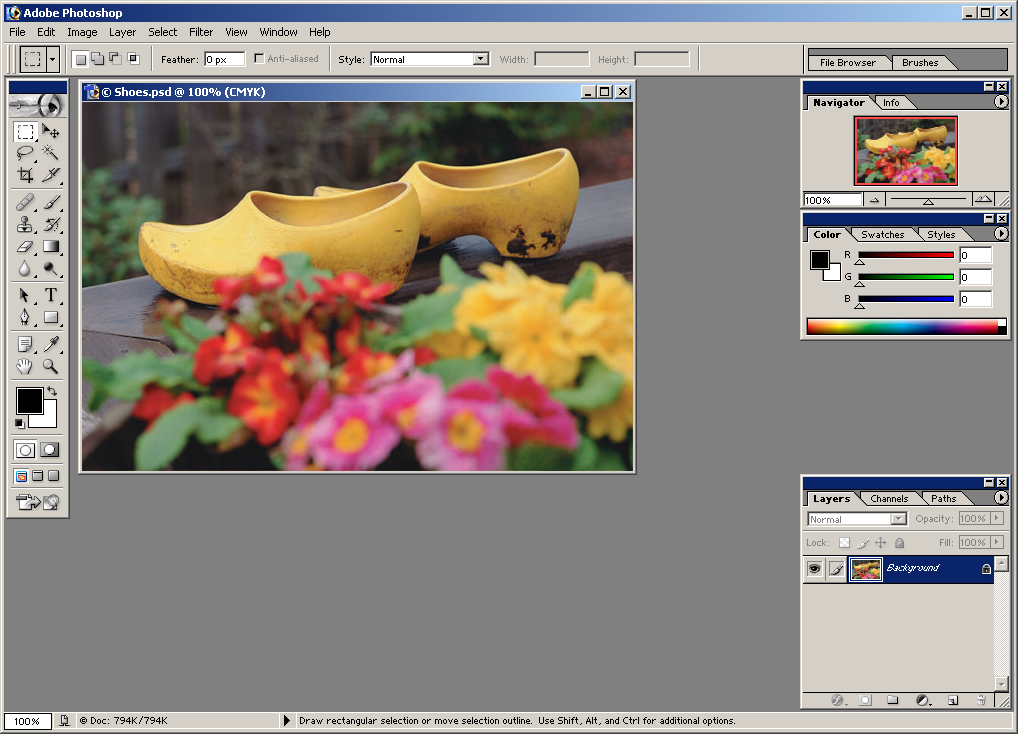
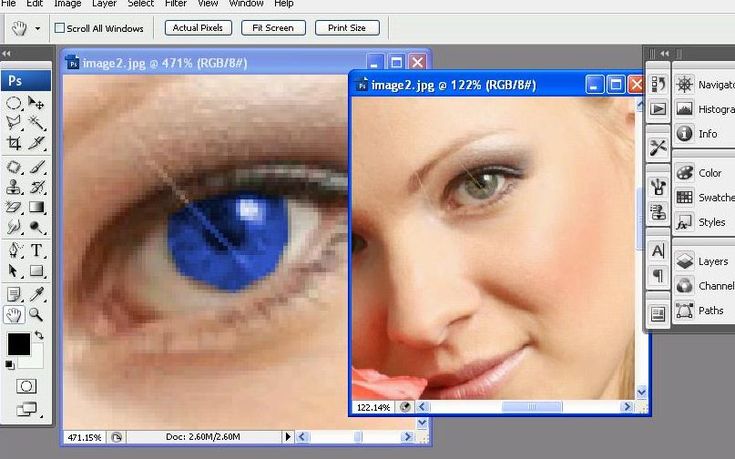
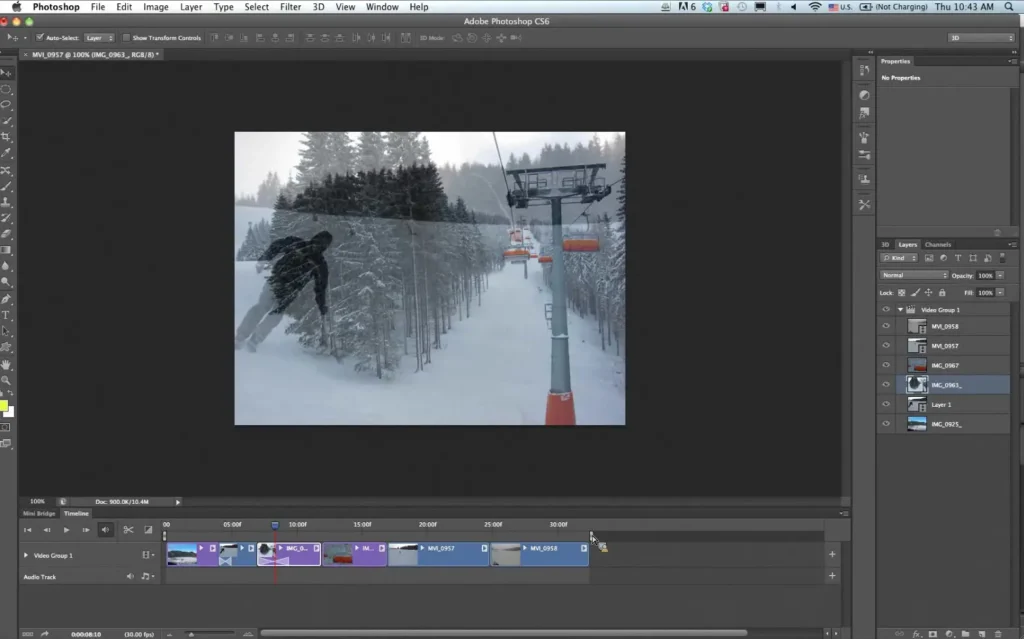
Overview of the Workspace: The workspace in Photoshop consists of various panels, tools, and menus that can be customized to suit your workflow. Familiarize yourself with the Layers panel, which is essential for organizing and editing different elements of your design separately.
Customizing the Workspace: You can customize the workspace by rearranging panels, creating custom toolbars, and saving your preferred layout. This helps in improving efficiency and productivity.
Basic Tools and Features
Introduction to Basic Tools: Photoshop offers a range of basic tools such as the Move Tool, Marquee Tool, Lasso Tool, and more. These tools are fundamental for selecting, moving, and manipulating elements within your project.
Understanding Layers and Layer Management: Layers are a core feature of Photoshop, allowing you to work on different parts of an image independently. Learn how to create, duplicate, and manage layers effectively.
Working with Different File Formats: Photoshop supports various file formats including JPEG, PNG, GIF, and PSD. Understanding the differences between these formats is crucial for optimal output.
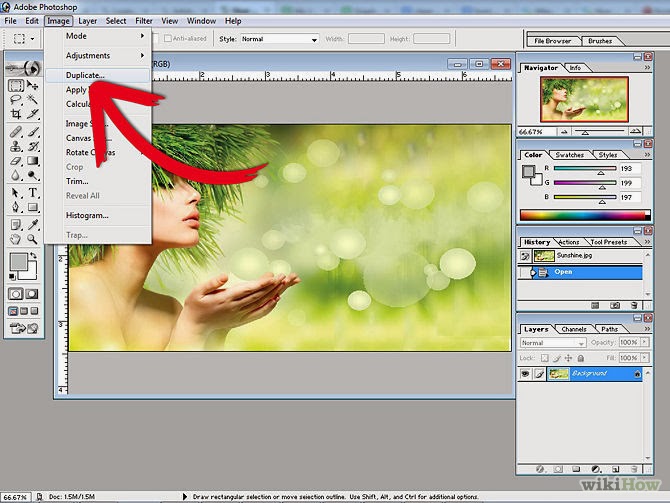
Image Manipulation and Editing
Adjusting Image Size and Resolution: Properly adjusting the image size and resolution is essential for maintaining quality. Use the Image Size dialog box to make precise adjustments.
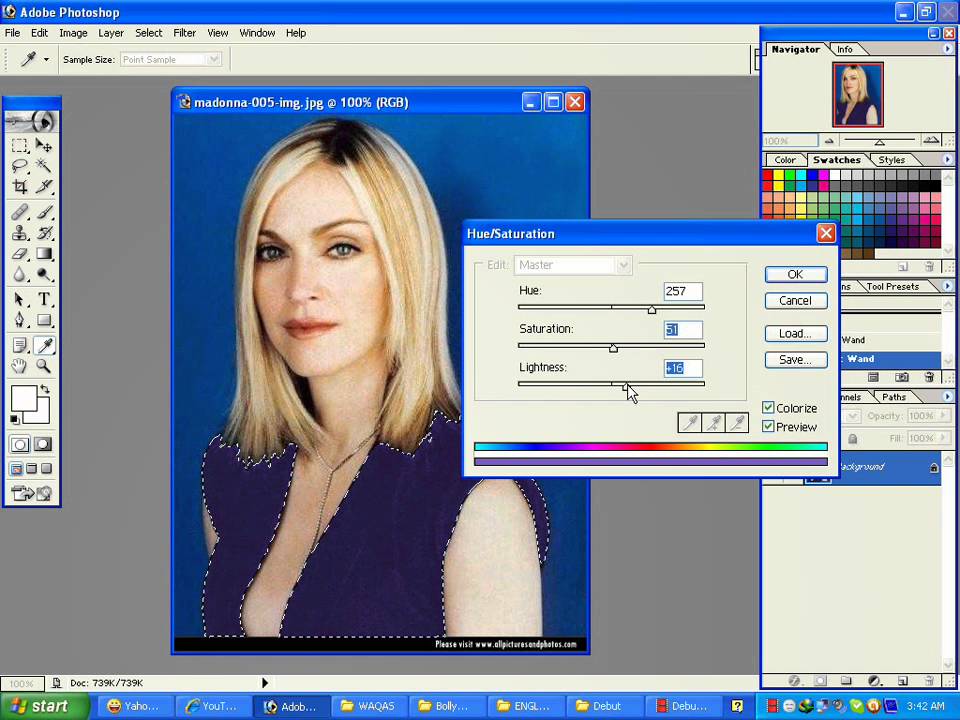
Color Correction and Enhancement: Photoshop provides tools for color correction and enhancement, such as Levels, Curves, and Color Balance. These tools help in achieving the desired color and tone in your images.
Using Selection Tools Effectively: Selection tools like the Marquee, Lasso, and Magic Wand are vital for isolating specific parts of an image. Mastering these tools allows for precise edits and adjustments.
Advanced Editing Techniques
Retouching and Restoring Images: Use tools like the Clone Stamp, Healing Brush, and Content-Aware Fill to remove blemishes, wrinkles, and unwanted objects from photographs while preserving the overall integrity of the image.
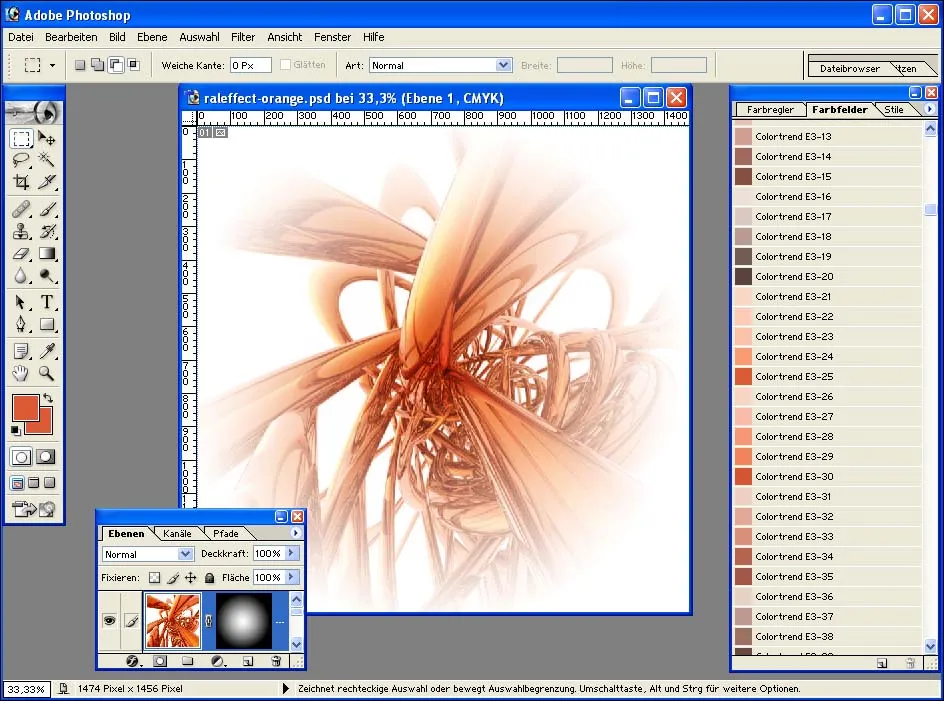
Working with Filters and Effects: Photoshop offers a variety of filters and effects that can be applied to images for creative enhancements. Experiment with different filters to achieve unique looks.
Creating and Editing Text and Shapes: Incorporate text and shapes into your designs using Photoshop’s typography and shape tools. Customize fonts, sizes, and effects to create visually appealing compositions.
Designing for Web and Print
Preparing Graphics for the Web: Optimize images for web use by adjusting resolution, file size, and format. Use the Save for Web feature to ensure your graphics load quickly and look great online.
Designing Print Materials: When designing for print, consider factors like resolution, color mode, and bleed. Photoshop’s tools allow you to create high-quality print materials such as posters, flyers, and business cards.
Exporting and Saving Your Work: Save your work in the appropriate format based on the intended use. For web graphics, use formats like JPEG or PNG. For print, use TIFF or PDF.
Tips and Tricks
Shortcuts and Time-Saving Techniques: Learn keyboard shortcuts to speed up your workflow. For example, pressing Ctrl+Z undoes the last action, while Ctrl+S saves your work.
Common Mistakes to Avoid: Avoid common mistakes such as working on the wrong layer or forgetting to save your work regularly. Always double-check your settings before finalizing a project.
Resources for Further Learning: Explore online tutorials, forums, and courses to continue improving your Photoshop skills. Websites like Adobe’s official site and Photoshop tutorials offer valuable resources
Features
- Advanced Typography: Illustrator offers sophisticated text handling tools, allowing users to manipulate type with precision, including the ability to convert text to outlines for custom designs.
- Artboards: Users can create multiple artboards within a single document, making it easy to design various layouts or versions of a project without needing to open multiple files.
- Gradient and Pattern Creation: The software provides tools to create complex gradients and patterns, enabling artists to add depth and texture to their designs.
- Integration with Creative Cloud: With a subscription, users can access Adobe Creative Cloud features, including cloud storage and the ability to work collaboratively with others.
Technical Specifications of This Release
- Version: Adobe Illustrator CC 2024
- Interface Language: Multilingual (supports various languages)
- Design by: Adobe Systems
- Type of Software: Vector Graphics Editor
- Audio Language: N/A
- Uploader / Repacker Group: N/A
- File Name: Adobe_Illustrator_CC_2024.exe
- Download Size: ~2 GB
System Requirements
Minimum Requirements:
- OS: Windows 10 (64-bit)
- Processor: Intel or AMD 64-bit processor
- RAM: 8 GB
- Graphics Card: 1 GB GPU with DirectX 12 support
- HDD: 2 GB of available disk space
Recommended Requirements:
- OS: Windows 10 (64-bit)
- Processor: Multicore Intel processor with 64-bit support
- RAM: 16 GB or more
- Graphics Card: 4 GB GPU with DirectX 12 support
- HDD: SSD for better performance
How to Download and Install the Software
To download Adobe Illustrator, follow these steps:
- Click on the download button on the official Adobe website.
- Run the setup file after the download is complete.
- Follow the installation prompts and enter the activation code if required.
- After installation, you may need to restart your computer.
For additional installation support, you can refer to resources on sites like Adobe Support.
How to Start Using Adobe Illustrator
Once you have installed Adobe Illustrator, follow these steps to get started:
- Launch the software from your desktop or start menu.
- Create a new document by selecting “File” > “New” from the menu.
- Choose your artboard size and orientation.
- Familiarize yourself with the toolbar on the left side, which contains essential tools for drawing and editing.
- Explore the menus to access advanced features and settings that can enhance your designs.
- Adobe Illustrator on Adobe’s website
- Frezsa
- Get Into PC
- Ocean of Games
- IPC Games
- AACPI
- Deffrent
- Mrafb