Download Software Free
Adobe premiere pro video editing software free download full version
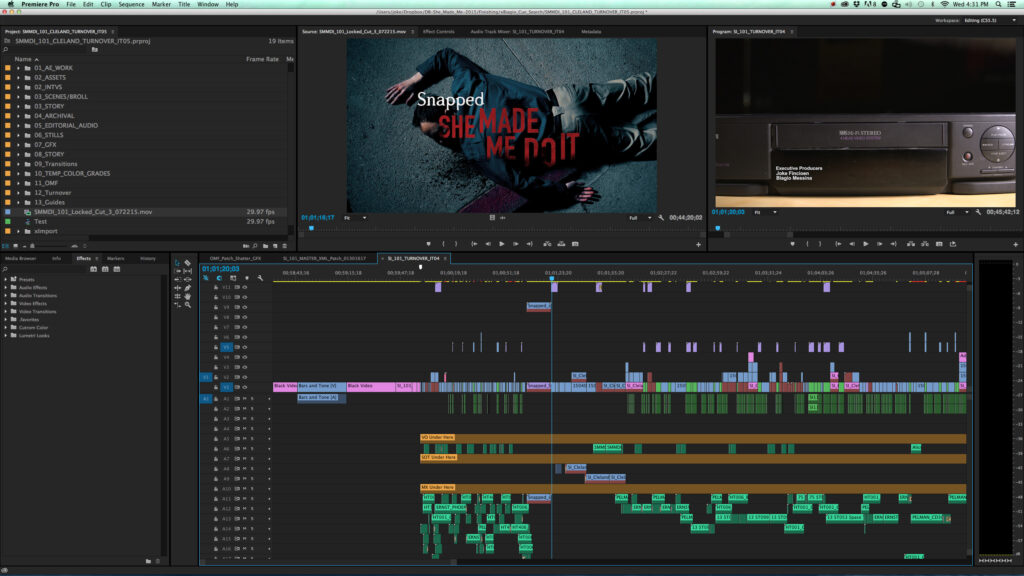
Adobe Premiere Pro is a leading video editing software used by professionals worldwide. Whether you’re a beginner or an experienced editor, this guide will walk you through the essential features and steps to create stunning videos.
Creating a New Project
- Launch Premiere Pro: Open the software and select “New Project.”
- Project Settings: Configure your project settings, including resolution, frame rate, and audio settings.
Importing Media
Importing Footage
- Media Browser: Use the Media Browser to locate and import your video files.
- Drag and Drop: Alternatively, drag and drop files directly into the Project panel.
Organizing Media
- Bins: Create bins to organize your media files.
- Labeling: Use labels and metadata to keep track of your footage.
Basic Editing Techniques
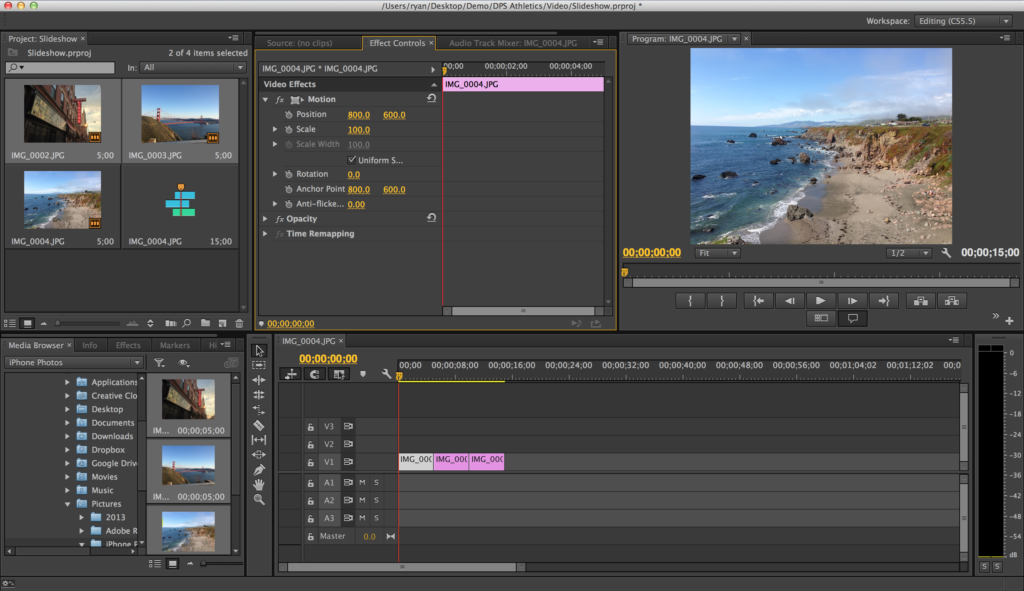
Timeline and Sequence
- Creating a Sequence: Right-click in the Project panel and select “New Sequence.”
- Adding Clips: Drag clips from the Project panel to the Timeline.
Trimming and Cutting
- Razor Tool: Use the Razor tool to cut clips.
- Trim Tool: Use the Trim tool to adjust the start and end points of clips.
Advanced Editing Features
Transitions and Effects
- Applying Transitions: Go to the Effects panel, select a transition, and drag it to the Timeline.
- Adding Effects: Drag effects from the Effects panel to your clips.
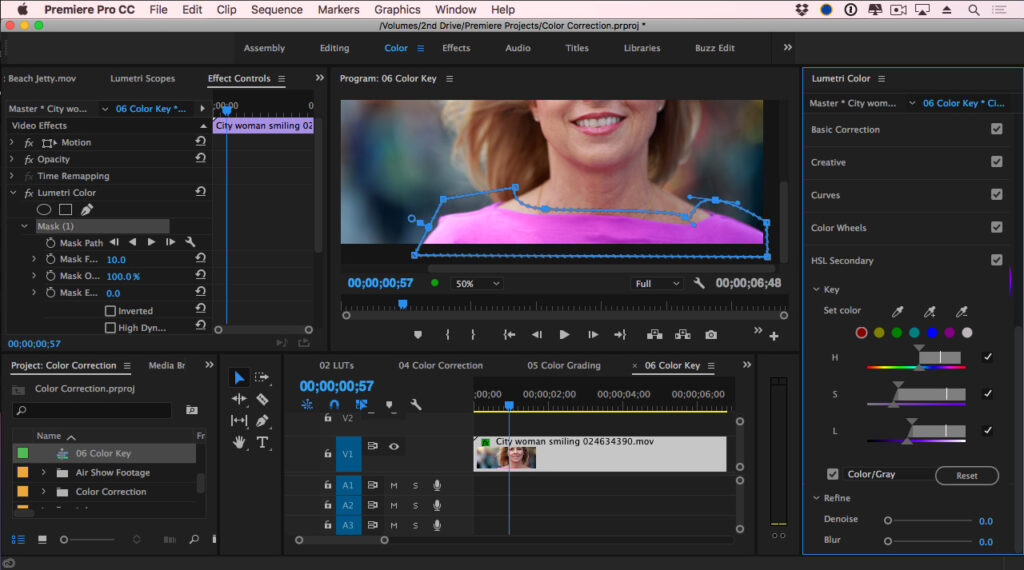
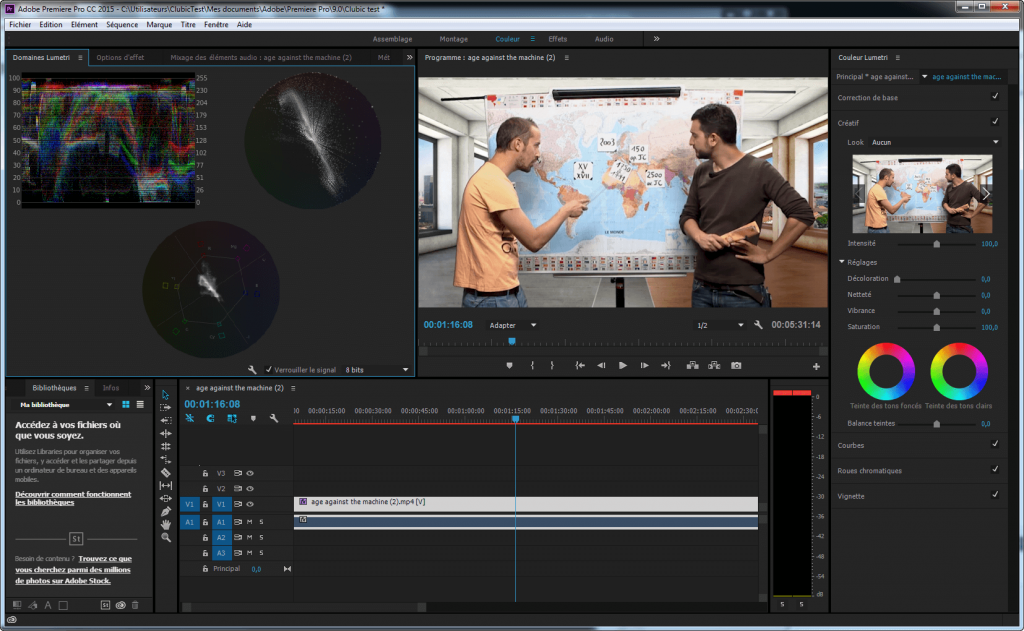
Color Correction and Grading
- Lumetri Color Panel: Use the Lumetri Color panel for color correction and grading.
- Scopes: Utilize scopes like the waveform and vectorscope for accurate color adjustments.
Audio Editing
Importing and Editing Audio
- Audio Tracks: Import audio files and place them on audio tracks in the Timeline.
- Adjusting Levels: Use the Audio Mixer to adjust volume levels.
Adding Effects
- Audio Effects: Apply audio effects from the Effects panel to enhance your sound.
Adding Titles and Graphics
Creating Titles
- Essential Graphics Panel: Use the Essential Graphics panel to create and customize titles.
- Templates: Utilize built-in templates for professional-looking titles.
Adding Motion Graphics
- Motion Graphics Templates: Import and customize motion graphics templates.
Exporting Your Video
Export Settings
- Export Menu: Go to File > Export > Media.
- Format and Presets: Choose the appropriate format and preset for your project.
Finalizing and Exporting
- Queue in Media Encoder: Use Adobe Media Encoder for batch exporting.
- Export: Click “Export” to finalize your video.
Features of Adobe Premiere Pro
Adobe Premiere Pro is packed with features that enhance the video editing experience. Here are some of the key functionalities:
- Multi-Cam Editing: This feature allows users to edit footage from multiple cameras simultaneously, making it easy to switch between angles and create dynamic videos.
- Advanced Color Correction: With powerful color grading tools, users can adjust the color and lighting of their videos, ensuring a professional finish.
- Audio Editing: Premiere Pro includes audio mixing capabilities, allowing users to enhance sound quality and add effects to their audio tracks.
- Motion Graphics Templates: Users can access a library of pre-designed motion graphics, which can be customized to fit their projects, saving time and effort.
- Integration with Adobe Creative Cloud: The software seamlessly integrates with other Adobe applications like After Effects and Photoshop, providing a cohesive workflow for multimedia projects.
These features collectively empower users to create stunning videos that engage and captivate audiences.

Technical Specifications
When considering the Adobe Premiere Pro free download, it’s essential to know its technical specifications:
- Version: Latest version (check the official website for updates)
- Interface Language: Multiple languages available
- Design By: Adobe Systems Incorporated
- Type of Software: Video Editing Software
- Audio Language: Supports multiple audio formats
- Uploader / Repacker Group: Various trusted groups
- File Name: Premiere_Pro_Setup.exe (example)
- Download Size: Approximately 1.5 GB (varies by version)
System Requirements
Minimum Requirements:
- OS: Windows 10 (64-bit) or macOS Mojave (10.14)
- Processor: Intel® 6th Gen or newer
- RAM: 8 GB
- Graphics: 2 GB GPU with OpenGL 2.0 support
- Hard Disk: 8 GB of free space
Recommended Requirements:
- OS: Windows 10 (64-bit) or macOS Big Sur (11.0)
- Processor: Intel® multi-core processor with 64-bit support
- RAM: 16 GB or more
- Graphics: 4 GB GPU with OpenGL 2.0 support
- Hard Disk: SSD for installation and cache
How to Download and Install
To download Adobe Premiere Pro, click on the download button provided on the website. Once the setup file is downloaded:
- Locate the downloaded file and double-click to run it.
- Follow the on-screen instructions to complete the installation.
- When prompted, enter the password (provided on the download page) to run the file.
How to Start Using Adobe Premiere Pro
After installation, follow these steps to start using Adobe Premiere Pro:
- Launch the application from your desktop or start menu.
- Create a new project by selecting “New Project” from the home screen.
- Import your media files by clicking on “File” > “Import” and selecting your video and audio files.
- Start editing by dragging your files to the timeline and using the various tools available to cut, trim, and enhance your video.
- Export your final project by selecting “File” > “Export” > “Media,” choosing your settings, and clicking “Export.”
Additional Resources
For more information on video editing and software solutions, you can visit the following websites:
Adobe Premiere Pro offers a comprehensive set of tools for video editing, from basic cuts to advanced effects and color grading. By following this guide, you’ll be well on your way to mastering video editing with Premiere Pro. For more detailed tutorials and resources, visit the Adobe Premiere Pro User Guide.

Leave a Reply