Download Software Free
Arduino ide software download
The Arduino IDE (Integrated Development Environment) is a free and open-source software application used for writing, compiling, and uploading code to Arduino boards.
Overview Arduino ide software download

It is a essential tool for anyone interested in exploring the world of Arduino, a popular microcontroller platform used for various electronic projects and prototypes. In this comprehensive article, we will guide you through the process of downloading and installing the Arduino IDE, as well as provide an overview of its features and capabilities.
The Arduino IDE is a cross-platform application that runs on Windows, macOS, and Linux operating systems. It provides a user-friendly interface that allows users to write, compile, and upload code to their Arduino boards with ease. The software is regularly updated by the Arduino team to introduce new features, improve performance, and address any issues or bugs.
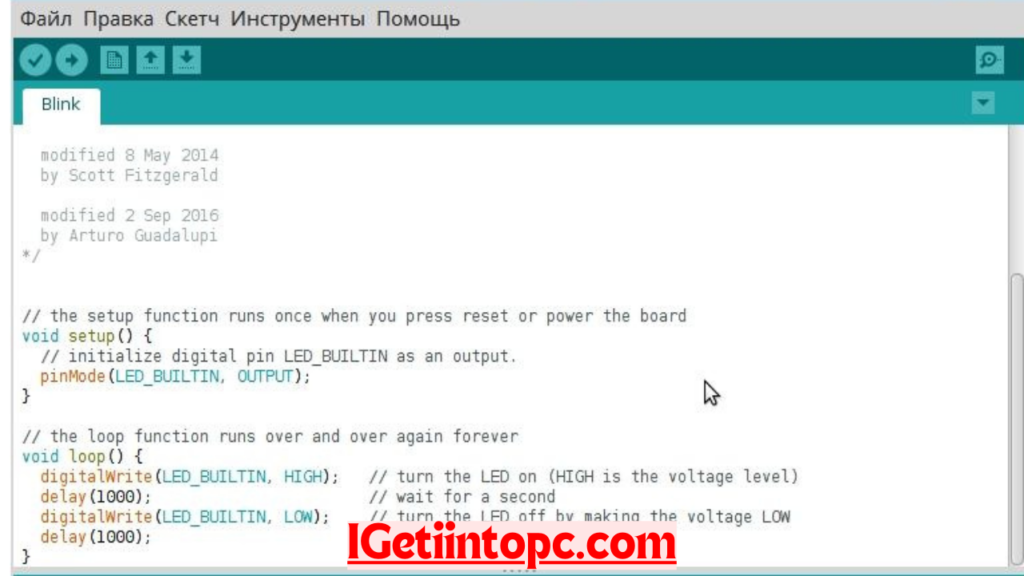
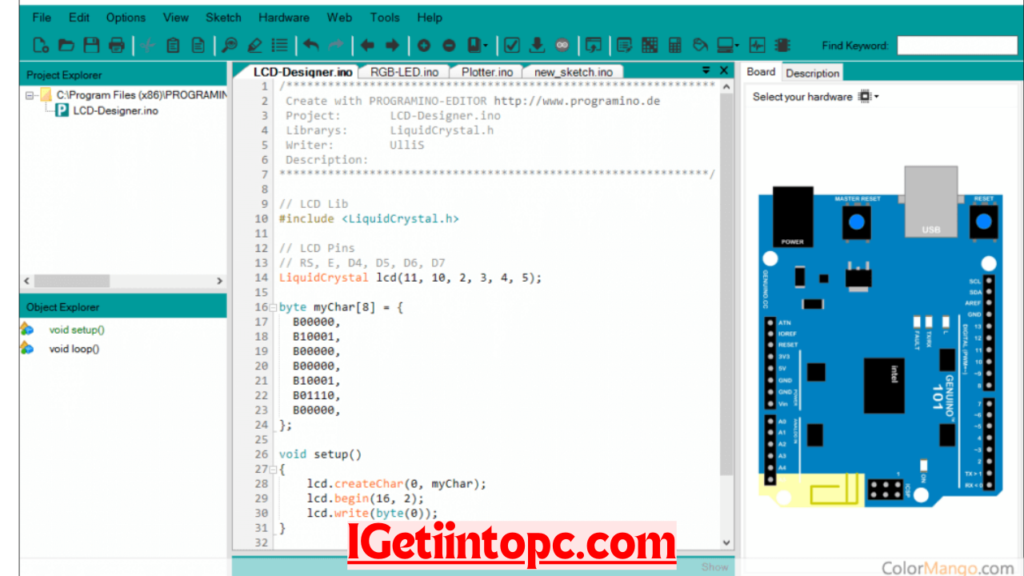
One of the key features of the Arduino IDE is its code editor, which provides syntax highlighting, code completion, and other helpful tools to streamline the coding process. The IDE also includes a serial monitor that allows users to communicate with their Arduino boards, as well as a library manager that makes it easy to install and manage the various libraries required for different projects.
In addition, the Arduino IDE comes bundled with a comprehensive set of example sketches that cover a wide range of topics, from blinking LEDs to controlling motors and sensors. These examples serve as a valuable resource for beginners and experienced users alike, helping them to quickly get started with their Arduino projects.
Technical Specifications
Version: 2.1.0
Interface Language: English, French, German, Italian, Spanish, and many others
Audio Language: N/A
Uploader / Re-packer Group: Arduino
File Name: arduino-2.1.0-windows.exe
Download Size: 260 MB

System Requirements for Arduino ide software download
Windows:
- Windows 7 or later
- 2 GB RAM or more
- 500 MB of free disk space
Adjusting Graphics Settings
The Arduino IDE does not have any advanced graphics settings, as it is primarily a text-based development environment. However, you can adjust the font size and theme of the IDE to suit your preferences. To do this, follow these steps:
- Go to the “File” menu and select “Preferences”.
- In the “Preferences” window, you will find the “Editor” section, where you can adjust the font size and theme.
- Select the desired font size and theme, then click “OK” to apply the changes.
Troubleshooting Common Issues
While the Arduino IDE is generally a stable and reliable software, users may occasionally encounter some issues. Here are a few common problems and their solutions:
- Board not detected: If the Arduino IDE is unable to detect your Arduino board, try the following:
- Check the USB cable and ensure it is properly connected to both the board and your computer.
- Ensure that you have the correct board selected in the “Tools” > “Board” menu.
- Install the appropriate board driver, if required.
- Compilation errors: If you encounter errors while compiling your code, double-check the following:
- Ensure that your code is syntactically correct and follows the Arduino syntax guidelines.
- Check for any missing or misspelled libraries or functions.
- Verify that your board’s specifications match the code you are trying to upload.
- Upload issues: If you are unable to upload your code to the Arduino board, try the following:
- Ensure that your board is powered on and connected to your computer.
- Check the USB connection and try a different cable if necessary.
- Verify that you have the correct port selected in the “Tools” > “Port” menu.
If you continue to encounter issues, you can refer to the official Arduino documentation or seek help from the active Arduino community forums.
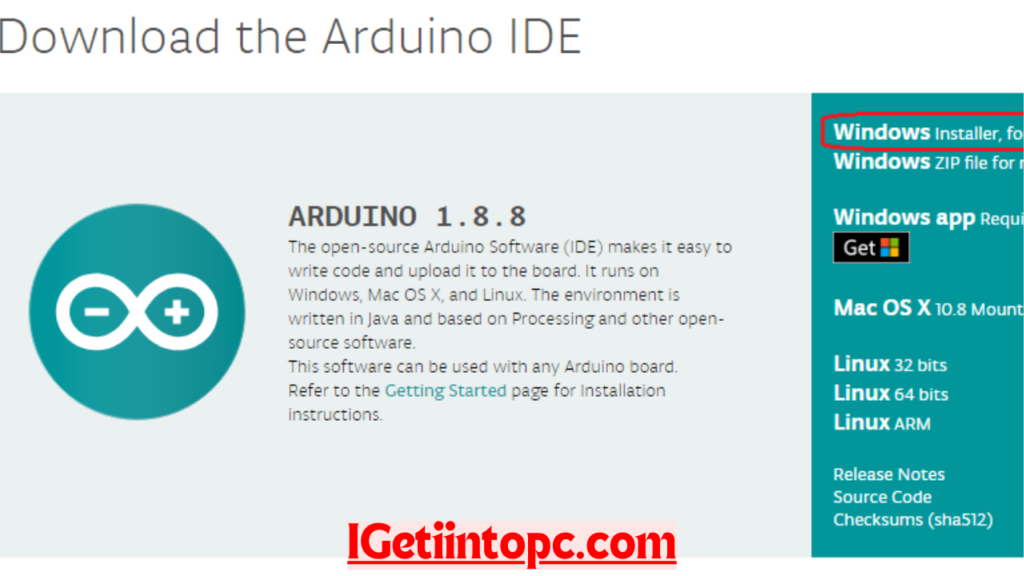
How to Download and Install
- Visit the official Arduino website (https://www.arduino.cc/en/software) and download the Arduino IDE installer for your operating system (Windows, macOS, or Linux).
- Run the installer and follow the on-screen instructions to complete the installation process.
- Once the installation is finished, you can launch the Arduino IDE from the start menu or application launcher.

How to Use the Arduino IDE
- Open the Arduino IDE: Launch the Arduino IDE application on your computer.
- Create a new sketch: Click on the “File” menu and select “New” to create a new sketch (Arduino program).
- Write your code: Use the code editor to write your Arduino code. You can refer to the built-in examples or search for online tutorials to get started.
- Verify your code: Click the “Verify” button (the checkmark icon) to compile your code and check for any errors.
- Upload your code: Connect your Arduino board to your computer using a USB cable, then click the “Upload” button (the right-arrow icon) to upload your code to the board.
- Monitor your board: Use the “Serial Monitor” (accessed through the “Tools” menu) to view any output or debug information from your Arduino board.
For more detailed instructions and guidance on using the Arduino IDE, please refer to the official Arduino documentation.
Conclusion
The Arduino IDE is an essential tool for anyone interested in working with Arduino boards and microcontrollers. With its user-friendly interface, comprehensive features, and vast community support, the Arduino IDE makes it easy for both beginners and experienced users to bring their electronic projects to life. Whether you’re interested in robotics, home automation, or any other Arduino-based applications, the Arduino IDE is the perfect starting point for your journey.
For more information, you can visit the following websites:
Each site offers unique resources and insights, so feel free to explore them to find the information you need.

Leave a Reply